
 Nic
Nic
You’ve bought your domain name and signed up for web hosting. So why isn’t your website showing up? The problem is almost always the same: you haven’t yet connected domain to hosting, and the two services don’t know about each other. As separate entities, your domain registrar and hosting provider need a little introduction. This guide walks you through exactly how to do that, covering both methods, what to prepare beforehand, and how to fix the most common problems that trip people up.
| Point | Details |
|---|---|
| Two methods available | You can link domain with hosting via nameservers or by editing individual DNS records. |
| Preparation prevents problems | Gather nameserver details and back up DNS records before making any changes. |
| Propagation takes time | DNS changes can take up to 48 hours to reach all global servers. |
| Method choice matters | Nameservers are simpler; A records give you more control over email and subdomains. |
| Verify after changes | Use a DNS checker tool and clear your browser cache to confirm the connection is live. |
Before you can connect domain to hosting confidently, you need a clear picture of what each part does. Think of your domain name as your business address on the internet. It’s the thing people type into their browser. Your web hosting is the building at that address, where all your website files actually live.
The domain registrar is the company you bought your domain from. Popular UK registrars include 123-reg, Namecheap, and GoDaddy. Your hosting provider is a separate company that runs the servers storing your website. As registrar and host differ, you need to tell your domain where your hosting lives. That’s where DNS comes in.

DNS stands for Domain Name System. It acts as the internet’s address book, translating your domain name into a numeric IP address that servers understand. Without the correct DNS configuration, your domain simply points nowhere.
There are two key DNS tools you’ll use:
Pro Tip: If you’re a UK small business owner with a Google Workspace or Microsoft 365 email address attached to your domain, pay close attention to which method you choose. Nameserver changes hand over all DNS control, which can disrupt your email if you’re not careful.
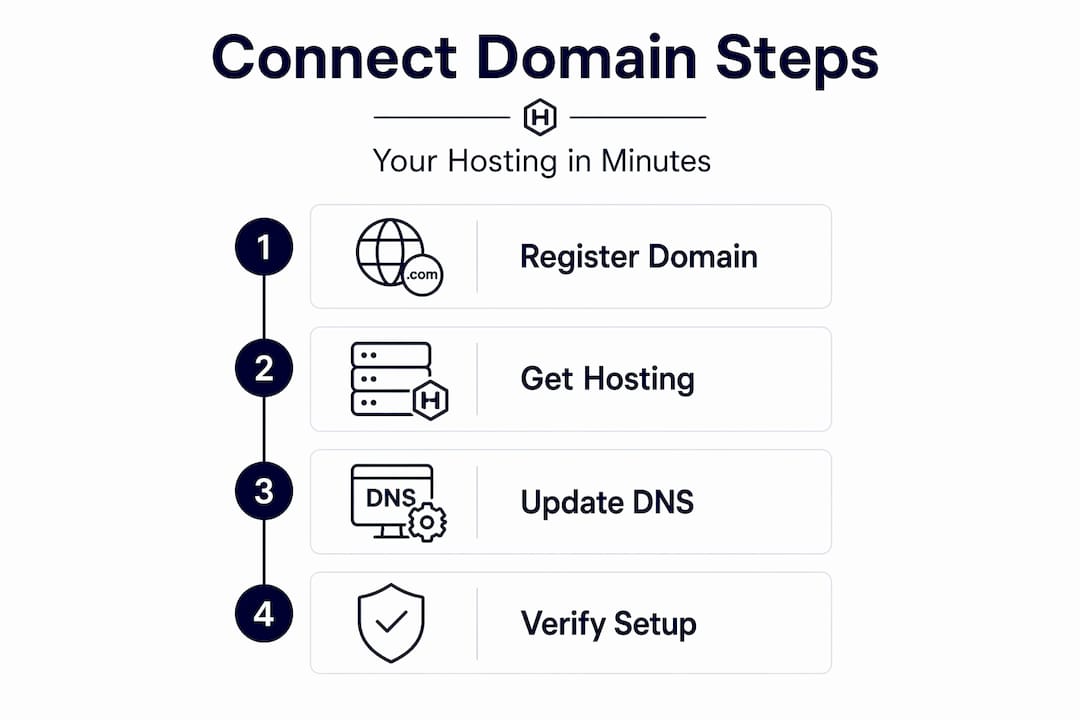
Rushing into DNS changes without preparation is the most common cause of website downtime. A few minutes of groundwork here can save you hours of frustration later.
Here’s what to gather before you begin:
ns1.yourhostingprovider.com and ns2.yourhostingprovider.com. If you plan to use the A record method, you’ll need your hosting server’s IP address instead.Before making any changes, also confirm:
This is the most straightforward method and the one most hosting providers recommend for beginners. It hands full DNS management to your hosting provider, which means they’ll handle everything from web traffic to email routing once the change propagates.
Pro Tip: Make nameserver changes during off-peak hours, such as early morning or late evening. Changing DNS during peak hours can cause brief disruption to email and website access precisely when your customers are most likely to be visiting.
Before switching nameservers, duplicate all your DNS records (MX, TXT, SPF, and any others) into your new hosting DNS zone. This prevents email outages and broken third-party verifications during the transition period.
This method gives you more precise control. Rather than handing over all DNS management to your host, you keep it at the registrar and simply redirect web traffic using an A record. It’s the better choice if you manage email through a separate provider or have multiple subdomains pointing to different services.
Here’s how to set up domain hosting using this approach:
yourdomain.co.uk). This covers visitors who type “www” before your domain.Here’s a quick comparison to help you decide which method suits your situation:
| Method | Best for | DNS control | Complexity |
|---|---|---|---|
| Nameservers | Beginners, simple setups | Hosting provider | Low |
| A record and CNAME | Complex email or multi-service setups | Registrar | Medium |
Key things to keep in mind with this method:
You’ve made the changes. Now what? The most common mistake at this stage is assuming something is broken when it’s simply still propagating. Give it time before drawing conclusions.
Here’s how to check and fix common issues:
Pro Tip: If you’re on a VPS or custom server, DNS changes alone won’t be enough. Advanced server setups require your web server software (such as Nginx or Apache) to be configured to recognise and serve your domain. If your site still doesn’t load after full propagation, this is worth checking.
If you’re still stuck after 48 hours, contact your hosting provider’s support team. Most reputable UK hosts offer live chat or ticket support and can verify the connection from their end.
I’ve seen more small business website launches delayed by DNS confusion than by any other single issue. And the frustrating part is that most of those delays were entirely avoidable.
In my experience, the biggest mistake isn’t a technical one. It’s impatience. People make a nameserver change, check their website five minutes later, see nothing, and assume something went wrong. They then make another change, which resets the propagation clock entirely. The expectation that DNS changes are instantaneous is the root of most self-inflicted DNS problems I’ve come across.
What I’ve found actually works is treating DNS changes like a scheduled maintenance window. Pick a quiet time, ideally a weekday evening. Have your new DNS records written down before you log in. Make the changes once, confirm they’re saved correctly, and then leave them alone for at least a few hours. Resist the urge to tinker.
The other thing I’d encourage every non-technical business owner to understand is the difference between nameservers and individual DNS records. It’s not complicated once you see it clearly. Nameservers say “let my host manage everything.” A records say “send web traffic here, but I’ll keep control of everything else.” Knowing which one you’ve used, and why, will save you a lot of head-scratching the next time you need to add an email service or verify your domain with Google.
For anyone considering a move between hosting providers, getting comfortable with DNS basics now will make that process far less stressful when the time comes.
— Nic
If you’re still figuring out the basics, or you want a UK hosting provider that makes domain and hosting configuration as straightforward as possible, Hexhosting is worth a look.

Hexhosting offers affordable UK web hosting plans built for individuals and small businesses, with clear control panel access, nameserver details provided on sign-up, and a support team that actually knows what they’re talking about. Whether you’re setting up your first site or moving an existing one, the process is designed to be manageable without needing a developer. If you’re not sure where to start, the beginner’s guide to web hosting covers the foundations clearly, and the getting started guide walks you through your first steps as a Hexhosting customer.
DNS changes typically take between 15 minutes and 48 hours to propagate globally. Most users see their site resolve correctly within a few hours.
Nameservers hand full DNS control to your hosting provider, while A records point only web traffic to your host’s IP address and leave other DNS settings at the registrar. The A record method is better if you manage email separately.
The most likely cause is that DNS propagation is still in progress. Clear your browser cache, use a DNS checker tool, and wait up to 48 hours before assuming something is wrong.
Yes. Use the A record method rather than changing nameservers. This lets you redirect web traffic to your host while keeping your MX records and email routing untouched at the registrar.
Yes. Pointing your DNS to a hosting server is only half the process. Your hosting account also needs to recognise your domain, which usually means adding it as an “addon domain” or “parked domain” within your hosting control panel.
Article generated by BabyLoveGrowth
You must be logged in to post a comment.